· Updated · Tutorials · 4 min read
Setting Up a Raspberry Pi for Your Home Server Projects
Transform your Raspberry Pi into a powerful home server. A solid foundation before you install Docker and Docker Compose on Raspberry Pi for self-hosting projects.
Looking to get started with self-hosting on a Raspberry Pi? You’re in the right place! This step-by-step guide will walk you through setting up a Raspberry Pi as a home server - the perfect foundation for projects like Pi-hole, media servers, home automation, and more.
Why Use a Raspberry Pi as a Home Server?
The Raspberry Pi makes an excellent choice for a home server because:
- Energy-Efficient Power Consumption: Uses significantly less electricity than a standard computer, reducing your power bill
- Compact Size: Takes up minimal space in your home network setup
- Silent Operation: No noisy fans (for most models), ideal for living spaces
- Cost-Effective Solution: Much more affordable than buying a dedicated server
- Reliable 24/7 Operation: Designed for continuous uptime
What You’ll Need
- A Raspberry Pi (model 4 or newer recommended for optimal server performance)
- MicroSD card (32GB or larger recommended for sufficient storage)
- Power supply for your Raspberry Pi (official power adapter recommended)
- Ethernet cable (for reliable network connection)
- Computer with SD card reader
- Optional: Raspberry Pi case with cooling for improved reliability
Step 1: Download Raspberry Pi OS
Raspberry Pi OS (formerly called Raspbian) is the official, optimized operating system for Raspberry Pi. For server projects, we’ll use the “Lite” version which doesn’t include a desktop environment:
- On your computer, download the Raspberry Pi Imager from the official website
- Install and run the Raspberry Pi Imager
Step 2: Write the OS to MicroSD Card
- Insert your microSD card into your computer
- In Raspberry Pi Imager:
- Click “CHOOSE OS”
- Select “Raspberry Pi OS (other)”
- Select “Raspberry Pi OS Lite (64-bit)” (or 32-bit for older Pi models)
- Click “CHOOSE STORAGE”
- Select your microSD card
- Click the gear icon (⚙️) to access advanced options
Step 3: Configure Advanced Options
In the advanced options menu:
- Check “Enable SSH” to allow remote access
- Set a username and password (make it secure!)
- Configure your wireless LAN if you plan to use Wi-Fi:
- Enter your Wi-Fi network name (SSID)
- Enter your Wi-Fi password
- Select your country from the dropdown
- Set your locale settings
- Click “Save”
Now click “WRITE” and confirm. The Raspberry Pi Imager will write the OS to your card and verify it.
Step 4: Boot Your Raspberry Pi
- Safely eject the microSD card from your computer
- Insert the card into your Raspberry Pi
- Connect your Raspberry Pi to your router using an Ethernet cable (recommended)
- Connect the power supply to boot up your Pi
Step 5: Find Your Raspberry Pi on the Network
Before we can connect to our Pi, we need to find its IP address:
Method 1: Check Your Router
- Log into your router’s admin page (usually at 192.168.1.1 or 192.168.0.1)
- Look for “Connected Devices” or “DHCP Clients”
- Find a device named “raspberrypi” in the list
Method 2: Use the Hostname
If you set up hostname.local in the advanced options, you can try:
ping raspberrypi.localStep 6: Connect to Your Raspberry Pi
Now that you know your Pi’s IP address, it’s time to connect:
On Windows:
Use PuTTY or the built-in SSH client in Windows Terminal:
ssh username@your_pi_ip_addressOn Mac or Linux:
Open Terminal and type:
ssh username@your_pi_ip_addressWhen prompted, enter the password you set in the advanced options.
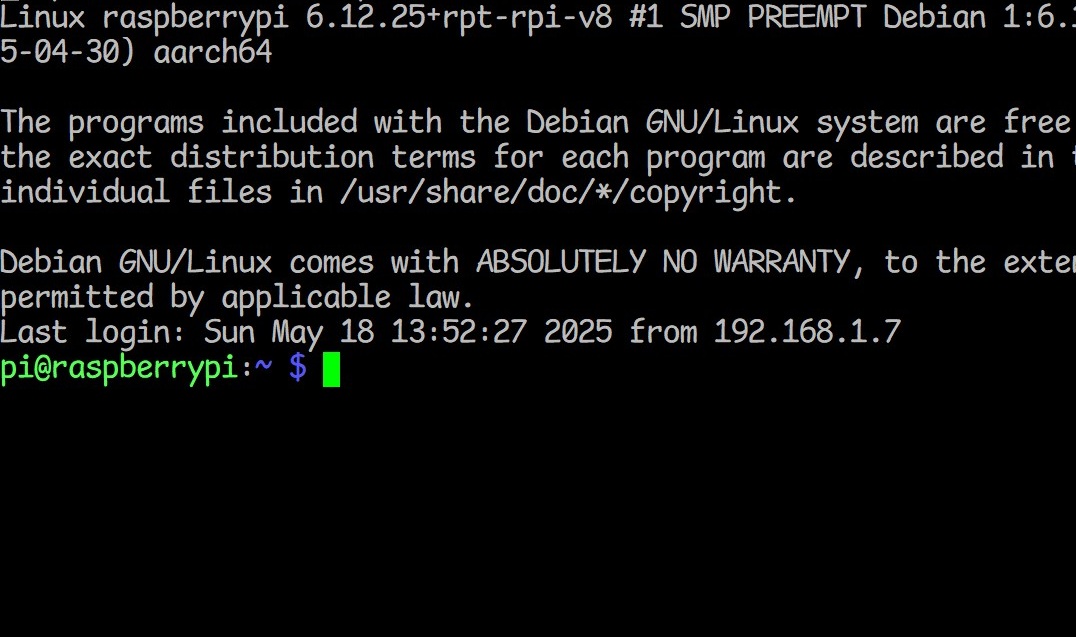
Step 7: Update Your System
Once connected, always start by updating your system to ensure security and performance:
sudo apt update
sudo apt upgrade -y
This might take a few minutes depending on your internet speed.
Next Steps: Ready for Projects!
Congratulations! You now have a Raspberry Pi set up as a basic home server. From here, you can install and configure specific services like:
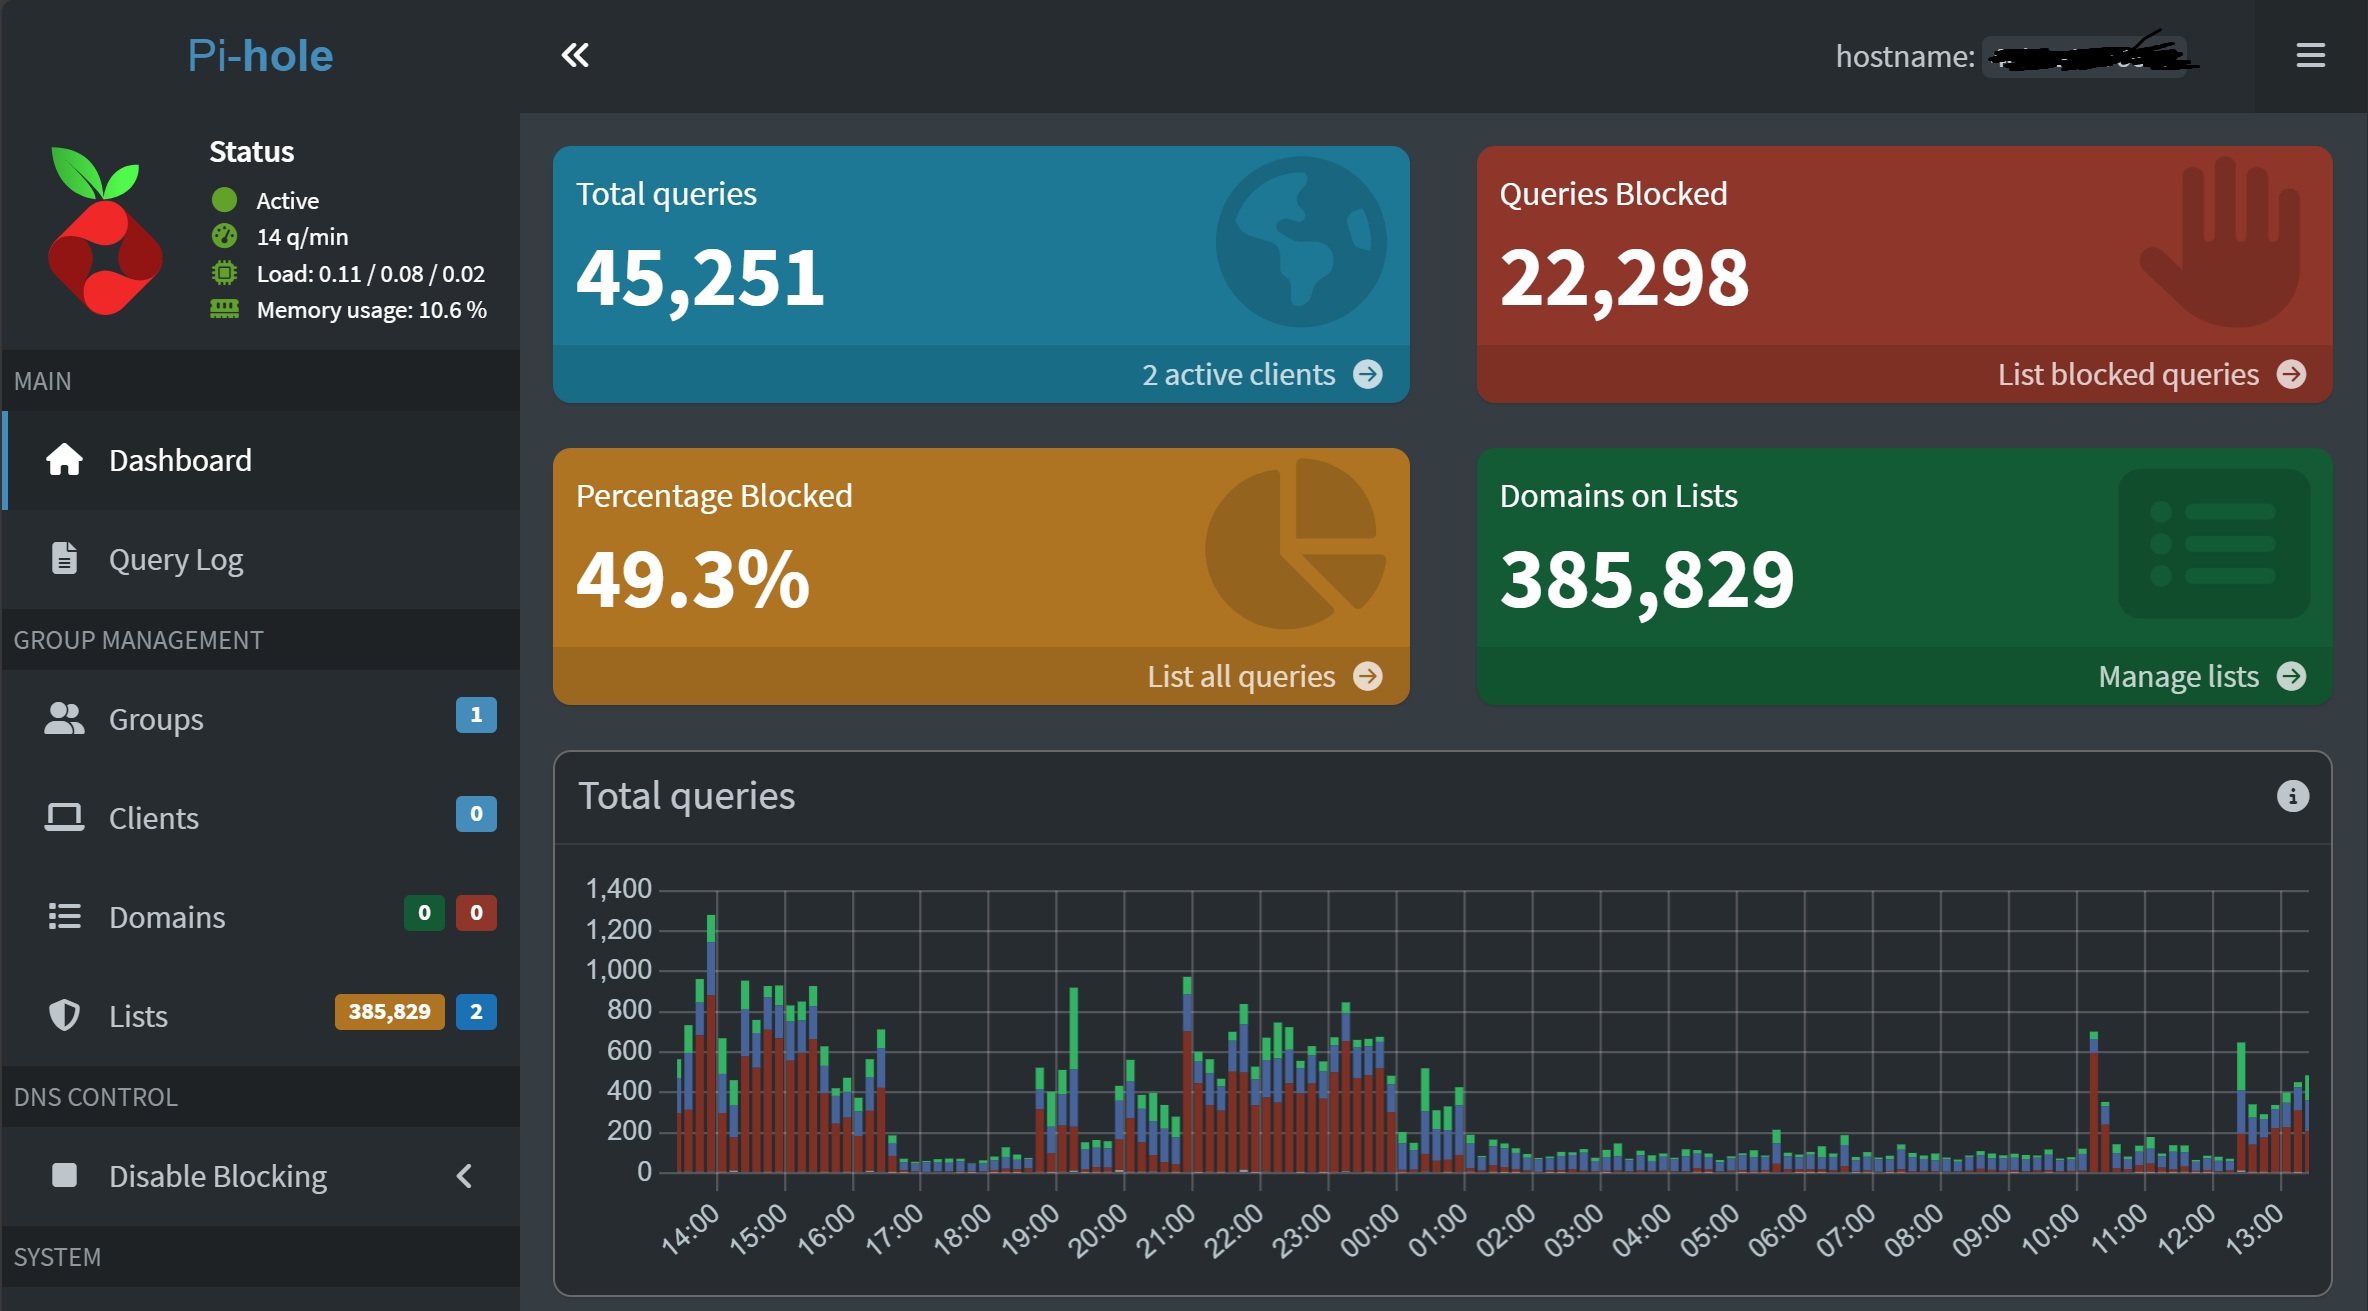
- Pi-hole for network-wide ad blocking
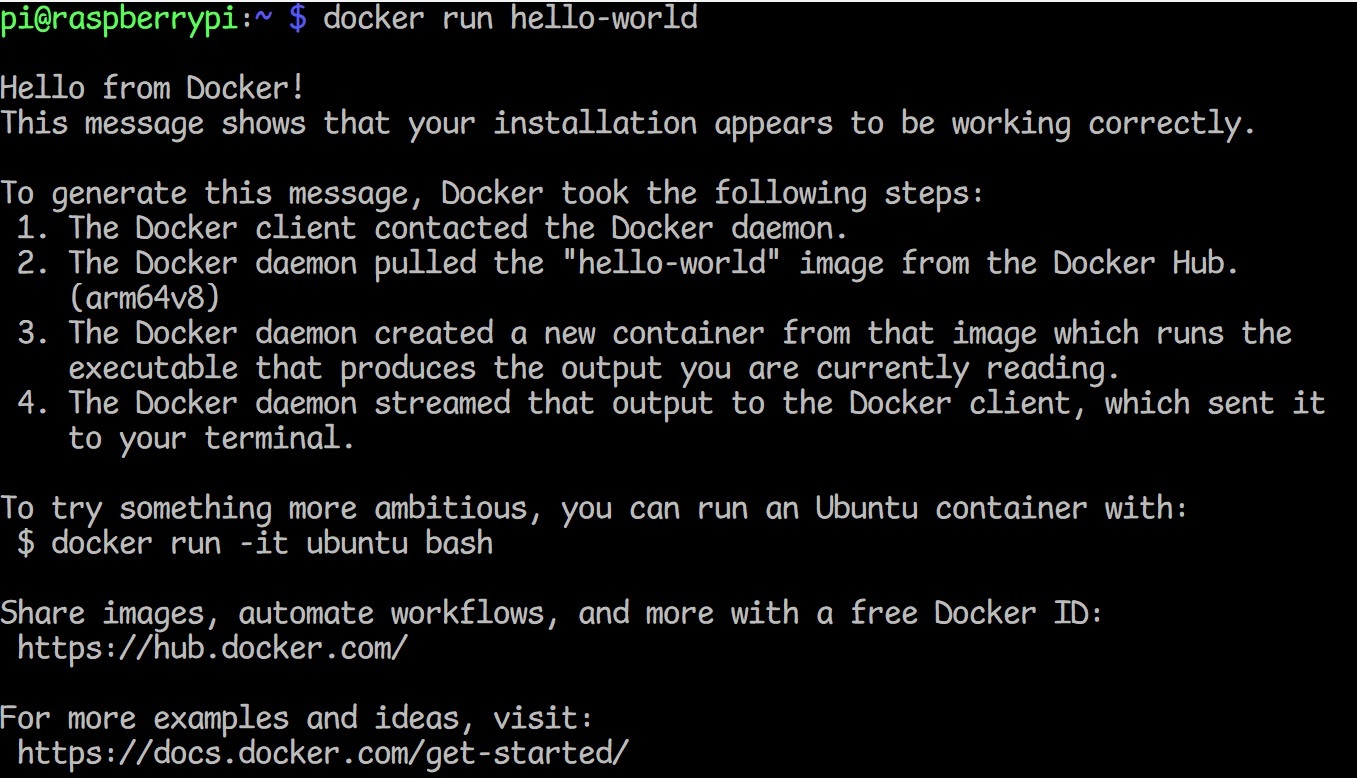
- Install Docker and Docker Compose on Raspberry Pi
- Home automation with Home Assistant
- Media servers like Plex or Jellyfin
- Network monitoring tools
- Personal cloud storage solutions
Each of these projects will have specific port requirements and configurations, so be sure to adjust your firewall settings accordingly.
Troubleshooting Common Issues
Problem: Can’t connect to the Pi via SSH?
- Solution: Double-check the IP address, ensure SSH is enabled, and verify you’re using the correct username/password. Also check your network connection.
Problem: Pi feels slow or unresponsive?
- Solution: Check CPU/memory usage with
htop(install it withsudo apt install htop). Consider a larger/faster SD card or adding a USB SSD for better performance.
Problem: Wi-Fi keeps disconnecting?
- Solution: Use an Ethernet connection for servers, or if you must use Wi-Fi, consider a USB Wi-Fi adapter with an external antenna for better reception.
Conclusion
Your Raspberry Pi is now set up as a reliable, energy-efficient home server platform! This basic setup provides a solid foundation for all kinds of self-hosting projects. The Raspberry Pi’s low power consumption makes it perfect for services that need to run 24/7, and its small size means you can tuck it away almost anywhere.
In upcoming tutorials, I’ll cover specific applications you can run on your Pi. Check out my guide on setting up Pi-hole to turn your Pi into a powerful network-wide ad blocker!