· Updated · Tutorials · 6 min read
Install Docker and Docker Compose on Raspberry Pi
Step-by-step guide to install Docker and Docker Compose on Raspberry Pi OS, including Raspberry Pi 32-bit systems and newer 64-bit setups.
Want to unleash the full potential of your Raspberry Pi? Docker is the secret sauce! In this guide, I’ll walk you through installing both Docker and Docker Compose on Raspberry Pi OS, including both 32-bit and 64-bit setups.
Whether you’re setting up a home server, running Pi-hole, or just learning containers, this guide gives you a straightforward path from a fresh Pi to a working Docker setup.
Why Docker on Raspberry Pi?
Docker lets you run applications in isolated containers, making it super easy to:
- Run Multiple Services: Host several applications without them interfering with each other
- Simplify Updates: Update applications with minimal downtime and risk
- Backup Everything: Back up entire applications by simply copying a few files
- Get Going Quickly: Deploy complex applications with just a few commands
- Improve Security: Each container provides isolation from other services
And with Docker Compose, you can manage multiple containers as a single service—perfect for applications that have several components.
Prerequisites
- A Raspberry Pi (4 with at least 2GB RAM recommended for optimal Docker performance)
- Raspberry Pi OS installed and updated (32-bit and 64-bit are both covered)
- Stable internet connection
- Basic command-line knowledge
Step 1: Update Your Raspberry Pi
Always start with a fully updated system to ensure compatibility and security:
sudo apt update
sudo apt upgrade -y
Step 2: Install Docker
The easiest way to install Docker on your Pi is using the official convenience script:
curl -sSL https://get.docker.com | shThis script detects your OS and installs the appropriate version of Docker. The process might take a few minutes to complete.
Step 3: Add User Permissions
By default, you need to use sudo every time you run a Docker command. Let’s fix that by adding your user to the Docker group:
sudo usermod -aG docker $USERFor this change to take effect, you’ll need to log out and back in, or you can apply it to your current session with:
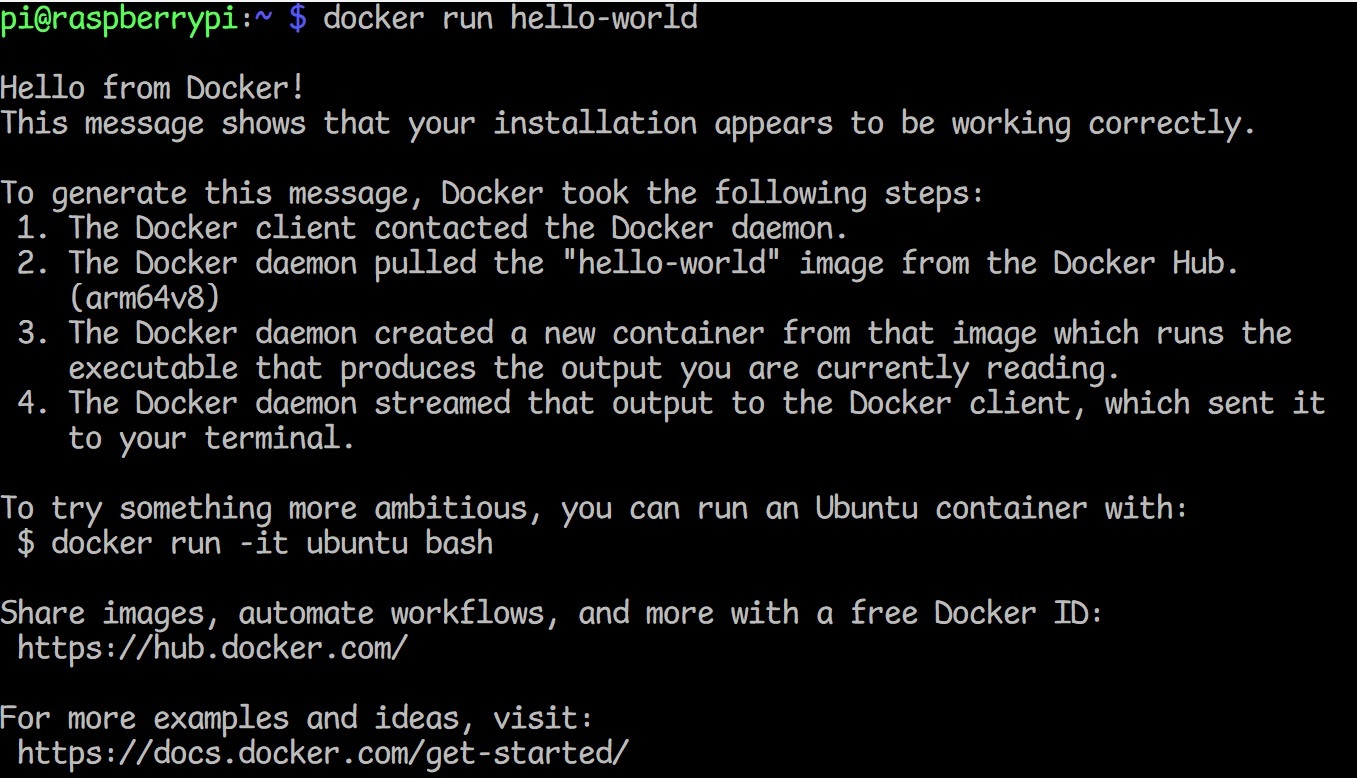
newgrp dockerStep 4: Test Docker Installation
Let’s make sure Docker is working correctly by running the classic “Hello World” container:
docker run hello-worldIf everything is working, you’ll see a message confirming that your installation appears to be working correctly.
Step 5: Install Docker Compose on Raspberry Pi OS (32-bit and 64-bit)
Now let’s install Docker Compose, which makes managing multi-container applications much easier. Choose the section that matches your Raspberry Pi OS version.
Option A (recommended for 64-bit Raspberry Pi OS)
docker compose versionIf you see a version, you’re all set. If the command is not found, install the plugin:
sudo apt update
sudo apt install -y docker-compose-plugin
Then verify again:
docker compose versionOption B (for Raspberry Pi OS 32-bit)
Docker Compose v2 doesn’t support 32-bit systems, so we’ll install Compose v1.29.2:
sudo apt-get install -y python3-pip libffi-dev
sudo pip3 install docker-compose==1.29.2
Note: On 32-bit systems, use the legacy docker-compose command.
Step 6: Test Docker Compose
Let’s verify that Docker Compose is installed correctly:
docker compose versionNote: Use docker compose for 64-bit plugin installs, or docker-compose --version for 32-bit legacy installs.
You should see the version number of Docker Compose, confirming it’s installed properly.
Step 7: Enable Docker to Start on Boot
To make sure Docker starts automatically when your Raspberry Pi boots up:
sudo systemctl enable dockerStep 8: Create a Simple Docker Compose Project
Let’s create a simple project to test everything:
- Create a new directory for your test project:
mkdir ~/docker-test
cd ~/docker-test- Create a
docker-compose.ymlfile:
nano docker-compose.yml- Add the following content to create a simple web server:
version: '3'

services:
  web:
    image: nginx:alpine
    ports:
      - '8080:80'
    restart: unless-stopped
Save and exit (Ctrl+X, then Y, then Enter)
Start the container:
docker compose up -dTest the web server by visiting
http://your_raspberry_pi_ip:8080in a browser. You should see the default Nginx welcome page.When you’re done testing, stop and remove the container:
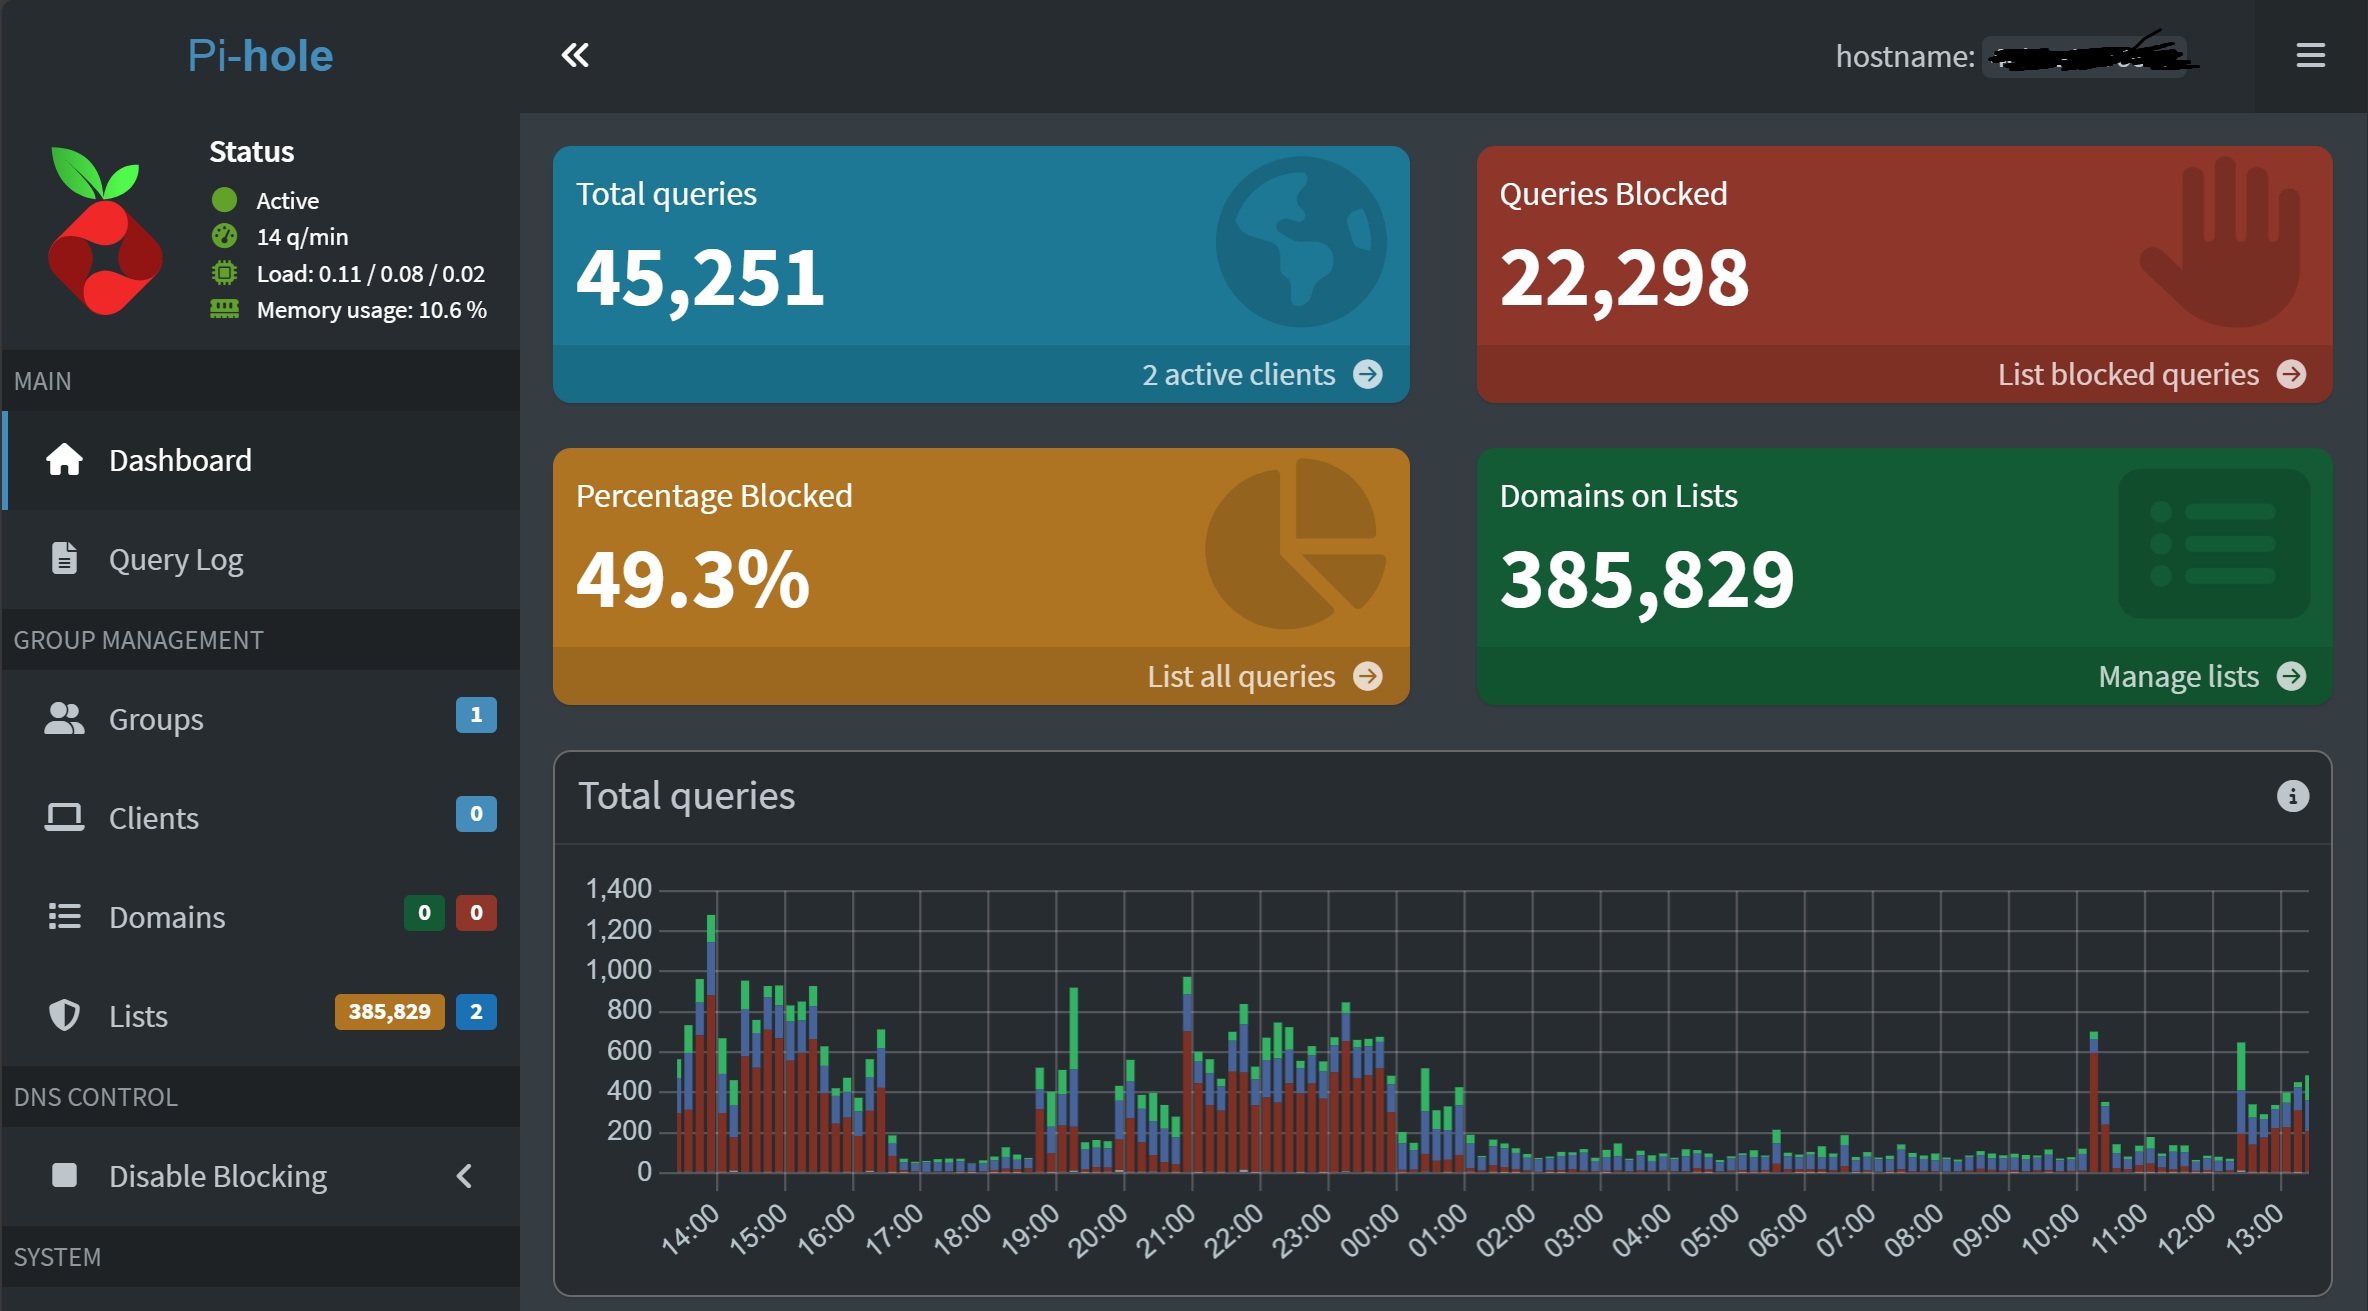
docker compose downWhat’s Next? Installing Pi-hole with Docker
Now that you have Docker and Docker Compose running on your Raspberry Pi, you’re ready to install Pi-hole! Check out my guide on Protecting Your Home Network with Pi-hole for detailed instructions.
If you’re still preparing your hardware and OS baseline, this guide also pairs well with Setting Up a Raspberry Pi for Your Home Server Projects.
Here’s a quick preview of what a Pi-hole Docker Compose configuration looks like:
version: '3'

services:
  pihole:
    container_name: pihole
    image: pihole/pihole:latest
    ports:
      - '53:53/tcp'
      - '53:53/udp'
      - '80:80/tcp'
    environment:
      TZ: 'Your/Timezone'
    volumes:
      - './etc-pihole:/etc/pihole'
      - './etc-dnsmasq.d:/etc/dnsmasq.d'
    cap_add:
      - NET_ADMIN
    restart: unless-stopped
Bonus Tips for Docker on Raspberry Pi
Managing Docker Disk Space Efficiently
Docker can use a lot of disk space over time. To check how much space Docker is using:
docker system dfTo clean up unused containers, images, and volumes:
docker system prune -aMonitoring Container Resource Usage
To see which containers are using the most resources in real-time:
docker statsLimiting Container Resources for Optimal Performance
Raspberry Pis have limited resources, so it’s good practice to limit what containers can use to prevent system instability.
For typical setups using docker compose up (non-Swarm), use service-level limits like this:
services:
  myservice:
    image: myimage
    cpus: 0.5
    mem_limit: 256m
This limits the container to using half a CPU core and 256MB of RAM, ensuring your Raspberry Pi remains responsive.
Troubleshooting Common Docker Issues on Raspberry Pi
Problem: “Permission denied” errors when running Docker commands
- Solution: Make sure you added your user to the Docker group and logged out and back in
Problem: Docker containers using too much RAM
- Solution: Limit resources in your docker-compose.yml file and avoid running too many containers simultaneously
Problem: Slow container performance
- Solution: Consider using a Raspberry Pi 4 with at least 4GB of RAM for better Docker performance
Problem: Container networking issues
- Solution: Check that port mappings are correct and not conflicting with other services
Quick FAQ
How do I install Docker on Raspberry Pi 5?
Use the same Docker steps in this guide. Raspberry Pi 5 works great with Docker on 64-bit Raspberry Pi OS.
How do I install Docker on Raspberry Pi 64-bit?
Use Option A in Step 5, which uses the modern Compose plugin (docker compose) on 64-bit Raspberry Pi OS.
How do I install Docker Compose on Raspberry Pi 4?
Use docker compose first. If the command is missing, install docker-compose-plugin with apt and verify using docker compose version.
How do I install Docker Compose on Raspberry Pi OS 32-bit?
Use the 32-bit section in Step 5 and run docker-compose --version to verify. On 32-bit Raspberry Pi OS, docker-compose is the expected command.
Can I install Docker on Raspberry Pi OS without Docker Desktop?
Yes. Docker Desktop is not required on Raspberry Pi OS. Docker Engine + Docker Compose plugin is the standard setup for Raspberry Pi.
Conclusion
Congratulations! You’ve successfully installed Docker and Docker Compose on your Raspberry Pi. This powerful containerization platform opens up endless possibilities for self-hosting applications, from network-wide ad blocking with Pi-hole to home automation with Home Assistant and much more.
The beauty of Docker on Raspberry Pi is that you can try out complex applications with minimal setup and keep your Raspberry Pi’s base system clean and tidy. Each application stays in its own container, making it easy to add, remove, or update without affecting anything else.