· Tutorials · 11 min read
Install Distant Horizons on Your Minecraft Server: Bukkit, Spigot, Paper, Folia Guide
Want to bring stunning, far-reaching views to your Minecraft server? This guide makes installing the Distant Horizons server plugin a breeze for Bukkit, Spigot, Paper, and Folia servers.
Hey Minecraft server adventurers! Many of your players might be using or want to use the Distant Horizons mod client-side for breathtaking, long-distance views. To ensure the best and most consistent experience for these players on your server, the Distant Horizons Server Plugin is essential. This guide focuses on getting the Distant Horizons server plugin installed and optimized on your Bukkit, Spigot, Paper, or Folia server, enhancing long-distance views for your players.
(If you’re also interested in setting up a cost-effective Minecraft server, you might want to check out my guide on creating a Free and Fantastic: My Zero-Cost Oracle Cloud Minecraft Server with Docker.) I’m happy to report that the Distant Horizons server plugin runs wonderfully on that very setup!
The Role of the Client Mod (Briefly)
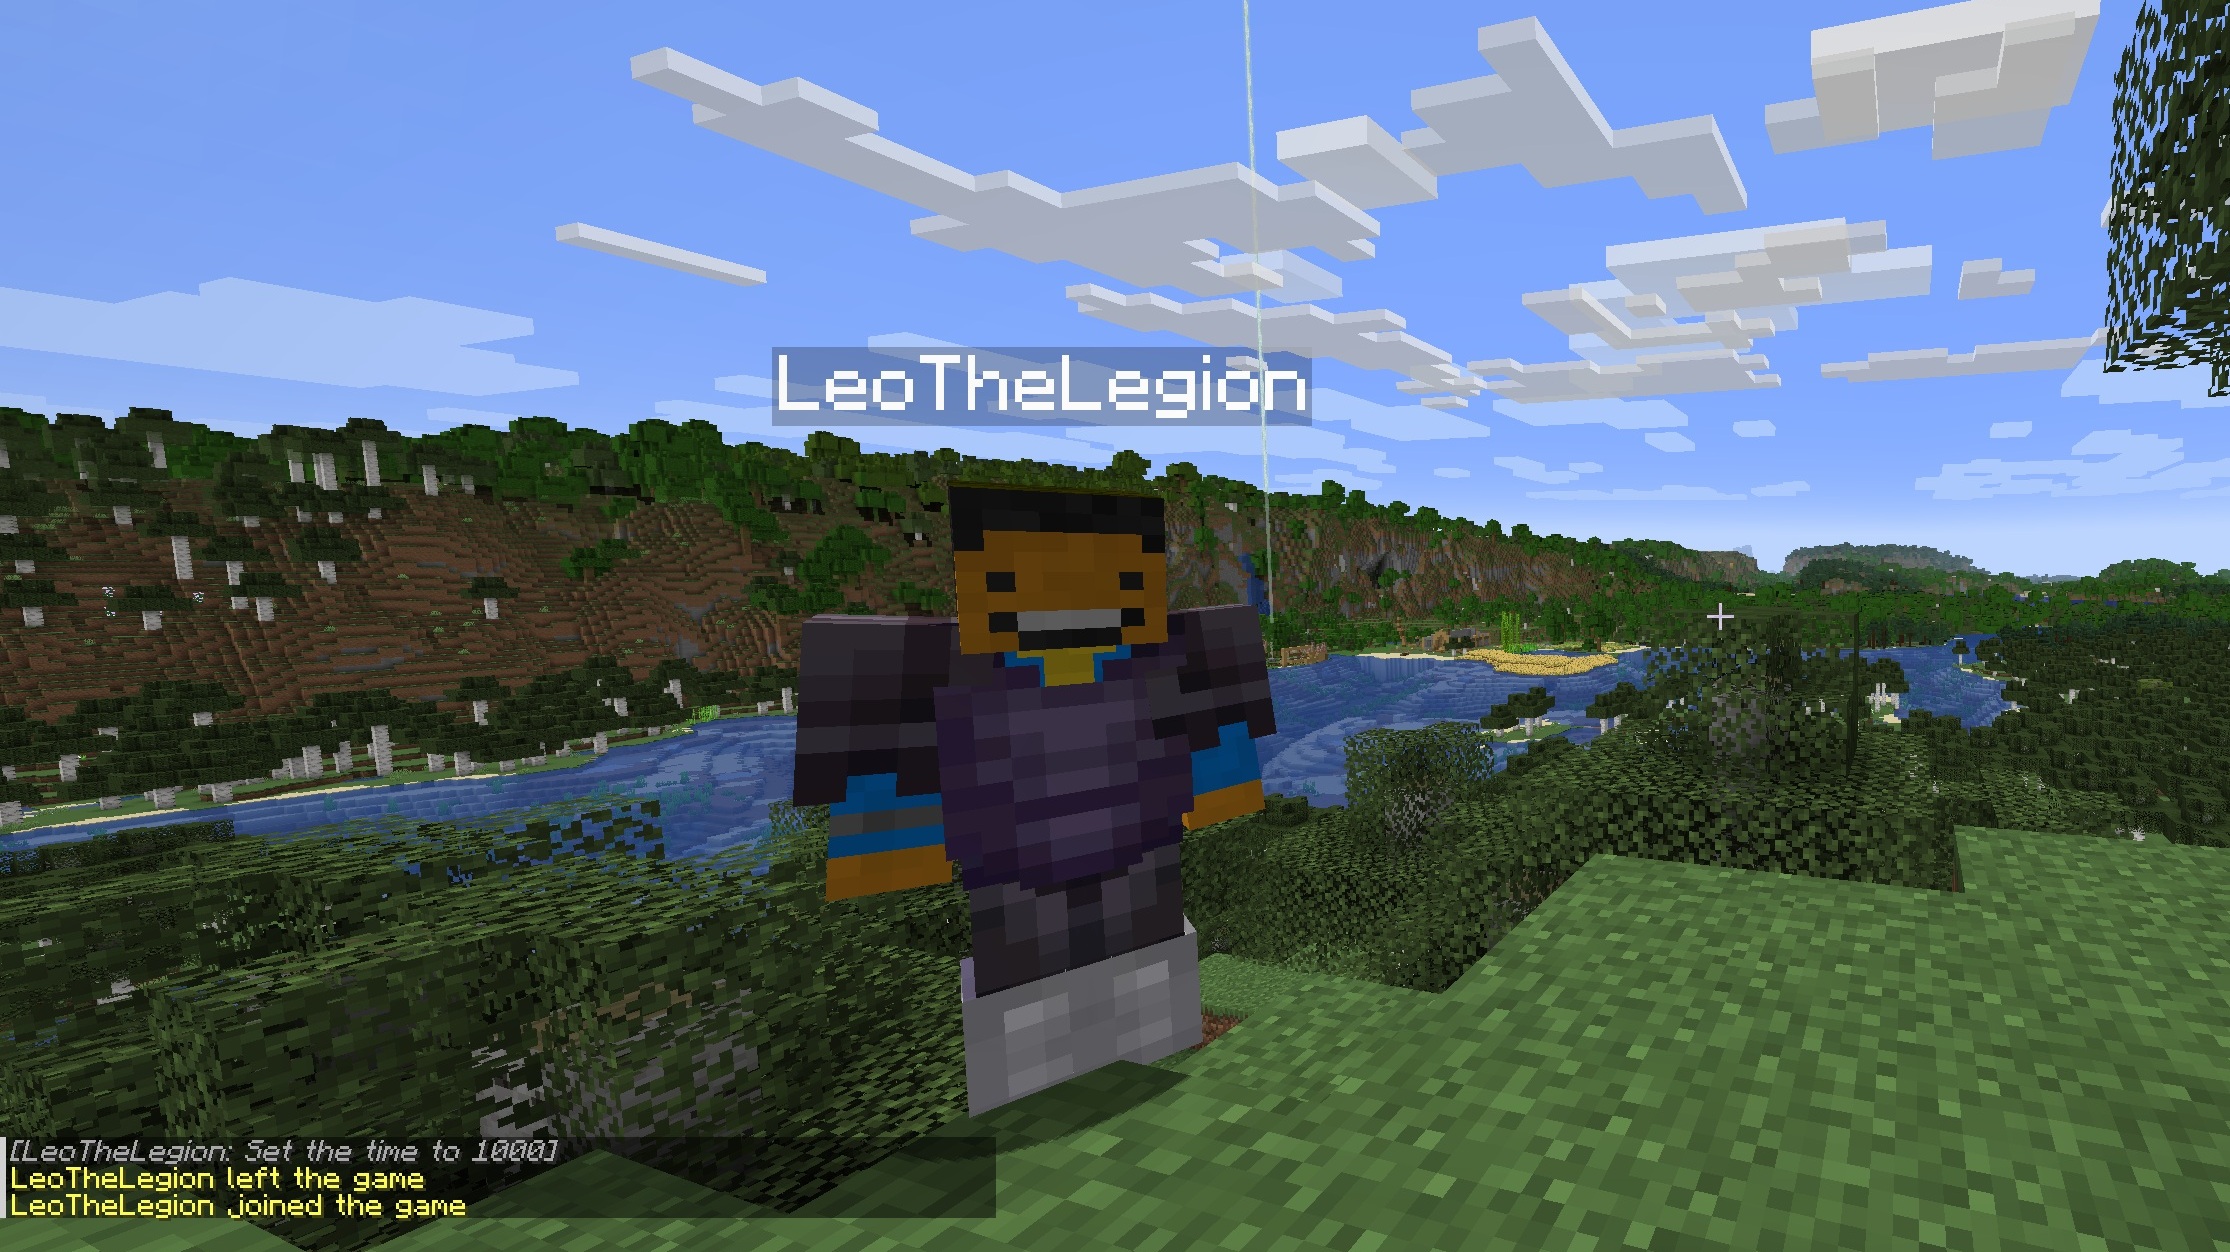
The Distant Horizons client mod allows players to see simplified terrain far beyond Minecraft’s standard view distance, improving performance and visual immersion. Players install this on their own game.
Our focus here is the server plugin. This plugin works in tandem with the client mod, providing the necessary data from your server to ensure that players using the mod have a synchronized and enhanced visual experience. We’ll delve into the specifics of what the server plugin does and why it’s beneficial in the next section.
Important Considerations Before You Start!
Before we dive in, here are a few crucial points from the Distant Horizons team:
- Strict Version Support: The version numbers for the mod (and by extension, compatibility with the server plugin) are strict! If a version says it supports MC 1.18.1, it will NOT work on 1.18.2. Always ensure your mod and server plugin versions are compatible with your Minecraft version.
- Alpha Software: The mod (and potentially the server plugin) is still in alpha. This means things may change, break, crash, or otherwise go wrong. You have been warned!
- Found an Issue? If you encounter problems, it’s best to leave an issue on the project’s GitLab page.
What You Need to Know First (Server Plugin Specifics)
- What it does: The Distant Horizons Server Plugin (DH Support) transmits LOD data to players using the Distant Horizons mod.
- Why use it: Ensures clients load distant chunks correctly and receive updates for those chunks when they change.
- Compatibility: Works with Bukkit, Spigot, Paper, and Folia server types.
Installation: It’s Seriously Easy!
One of the best things about this plugin is how easy it is to install on your Bukkit, Spigot, Paper, or Folia server.
Download the Plugin:
- Head over to the official Distant Horizons Server Plugin releases page: https://gitlab.com/distant-horizons-team/distant-horizons-server-plugin/-/releases
- Find the latest release. You’ll notice the download link often leads to a Google Drive folder.
- In that Google Drive folder, you’ll find different JAR files for various Minecraft versions. Download the JAR file that matches your server’s Minecraft version.
Drop it in Your Plugins Folder:
- Once downloaded, take that
.jarfile and place it directly into thepluginsfolder of your Minecraft server. - If your server is running, you’ll need to restart it (or use a plugin manager to load it, if you have one).
- Once downloaded, take that
And that’s it! You’ve successfully installed the Distant Horizons Server Plugin. Your players using the client mod will now benefit from server-synchronized Level of Detail (LOD) data, ensuring those breathtaking distant views are consistent and up-to-date.
Tip: Adjust Server view-distance for Performance
When using the Distant Horizons server plugin, consider adjusting your main server view-distance in the server.properties file. I recommend lowering this to around 10 chunks. Since Distant Horizons handles the far-off views with its LOD system, a lower server view-distance can reduce server load without sacrificing the expansive vistas your players will experience. Always test to find what works best for your server.
Frequently Asked Questions (FAQ)
Here are some common questions server administrators have about the Distant Horizons plugin and its impact on Minecraft servers:
- Q: Does the plugin use multiple threads for LOD generation?
- A: Yes, the Distant Horizons server plugin performs LOD generation on separate threads to minimize impact on the main server thread. You can configure the number of threads using the
scheduler_threadssetting in theconfig.ymlfile, which we cover in the “Configuration” section.
- A: Yes, the Distant Horizons server plugin performs LOD generation on separate threads to minimize impact on the main server thread. You can configure the number of threads using the
- Q: Can I control the maximum LOD distance visible to players?
- A: Yes, you can control the maximum render distance for Distant Horizons. This is managed via the
render_distancesetting in theconfig.ymlfile, detailed in our “Configuration” section.
- A: Yes, you can control the maximum render distance for Distant Horizons. This is managed via the
- Q: Can I control how detailed the generated LODs are?
- A: Yes, the level of detail in the generated LODs can be adjusted. Settings like
builder_typeandbuilder_resolutionin theconfig.ymlfile allow you to balance detail with performance. We discuss these in the “Configuration” section.
- A: Yes, the level of detail in the generated LODs can be adjusted. Settings like
- Q: Does Distant Horizons (with the server plugin) work with player-created structures?
- A: Yes, the plugin is designed to include player-created structures when generating LODs. The overall LOD generation process, governed by settings such as
distant_generation_enabledand the chosenbuilder_type(which are detailed in our “Configuration” section), will naturally incorporate these structures into the distant views.
- A: Yes, the plugin is designed to include player-created structures when generating LODs. The overall LOD generation process, governed by settings such as
Configuration (Optional)
The developers have set up the default configuration to work well for most servers. However, if you’re the type who likes to tinker or have specific needs, you can adjust the settings.
All the configuration options are found in the config.yml file, located in the plugins/DHSupport/ directory. This directory and the config.yml file will be automatically generated by the plugin the first time you run your server with the plugin installed. The comments within config.yml are very helpful and should guide you through what each option does.
Let’s look at some of the key settings you might want to adjust:
Understanding the config.yml
Here are some of the notable options you’ll find in your config.yml:
General Settings
render_distance- Default:
1024 - My Recommended Value:
128. I find this value provides a good balance between enhanced visuals and server performance. - What it does: Sets the maximum supported render distance for Distant Horizons. Clients using the mod will be capped to this value.
- Default:
distant_generation_enabled- Default:
true - What it does: Enables or disables all LOD (Level of Detail) features. You’d typically keep this
trueunless you’re using the plugin only for level key info in a proxied server setup.
- Default:
real_time_updates_enabled- Default:
true - What it does: Determines if LOD updates for changed blocks are sent to players in real-time. Keeping this
trueensures players see changes in distant terrain as they happen.
- Default:
real_time_update_radius- Default:
128 - What it does: Defines how close (in blocks) players need to be to an updated area to receive the real-time LOD update.
- Default:
login_data_sync_enabled- Default:
true - What it does: Allows clients to request updates to LODs they’ve previously downloaded when they log in. This helps keep their distant views consistent.
- Default:
login_data_sync_radius- Default:
128 - What it does: Sets how far away a player can request LOD updates for during the login sync process.
- Default:
Performance and Quality Tuning
full_data_request_concurrency_limit- Default:
20 - What it does: The number of parallel LOD requests that can be processed per client. Higher values might offer faster initial LOD loading for clients but could increase server load.
- Default:
builder_type- Default:
FullBuilder - My Recommended Value:
FastOverworldBuilder. I use this for my overworld because it’s optimized for speed and generally provides excellent results for typical landscapes. - What it does: Selects the LOD builder:
FullBuilder(more detailed, slower),FastOverworldBuilder(optimized for overworlds, faster), orNone(disables LOD building).
- Default:
builder_resolution- Default:
2 - My Recommended Value:
4. I set this to4because sampling every fourth block on the Y-axis significantly improves performance. While it might slightly reduce vertical detail in the LODs, the performance gain is often worth it. - What it does: The number of blocks to advance between each sample on the Y-axis when generating LODs (e.g.,
1for every block,2for every other).
- Default:
scheduler_threads- Default:
2 - What it does: The number of worker threads used to generate LODs. This does not affect Folia servers. Adjusting this might help balance LOD generation performance with overall server CPU usage.
- Default:
generate_new_chunks- Default:
true - My Recommended Value:
false(by uncommenting#generate_new_chunks: falseand setting it tofalse). I recommendfalseto prevent the plugin from generating new terrain solely for creating LODs, which helps save server resources. - What it does: If enabled, the plugin will generate new chunks if needed to build LODs. If disabled, LODs can only be created for areas where chunks already exist. Disabling this can save resources if you don’t want new terrain generated solely for LOD purposes.
- Default:
World-Specific Settings
The worlds section in your config.yml is powerful, allowing you to override any of the global settings on a per-world basis. This is incredibly useful for tailoring performance and visuals to different dimensions (like the Overworld, Nether, or The End) or even custom worlds if you have them.
To define settings for a specific world, you create a subsection under worlds: with the exact name of your world’s folder. For example, if your main Overworld folder is named world and your Nether folder is world_nether, your configuration would look something like this:
worlds:
  world: # Settings for your main Overworld
    builder_type: FastOverworldBuilder
    # scan_to_sea_level: true
    # border_center_x: 0
    # border_center_z: 0
    # border_radius: 5000
  world_nether: # Settings for the Nether
    render_distance: 64
    # perform_underglow_hack: true
    # builder_resolution: 1
  # world_the_end: # Example for The End
  # render_distance: 128 # You might want a different render distance for The End
  # builder_type: FullBuilder # Perhaps more detail is fine here
Let’s break down some common settings you might override per world, using my setup as an example:
builder_type(Per-World)- What it does: Overrides the global
builder_typefor this specific world. - My Approach: For my main
world(Overworld), I ensure this is set toFastOverworldBuilderfor optimal performance on typical landscapes. You might chooseFullBuilderfor a dimension where detail is paramount and performance impact is less critical, orNoneif you don’t want LODs for a particular world.
- What it does: Overrides the global
render_distance(Per-World)- What it does: Overrides the global
render_distancefor this specific world. - My Approach: For
world_nether, I reduce therender_distanceto64. This is a common and effective optimization because the Nether’s enclosed spaces, fog, and generally chaotic terrain naturally limit long-distance visibility. A lower value here significantly helps with performance in the Nether.
- What it does: Overrides the global
builder_resolution(Per-World)- What it does: Overrides the global
builder_resolutionfor this specific world. - My Approach: While I use a global
builder_resolutionof4for performance, forworld_nether, the example in the default config often shows# builder_resolution: 1. If Nether LODs appear too blocky or lack detail with a higher global resolution, you might consider settingbuilder_resolution: 1specifically for the Nether to capture more vertical detail, at the cost of some performance for Nether LOD generation.
- What it does: Overrides the global
scan_to_sea_level- Default:
false(usually commented out) - What it does: When enabled (
true), this option can be useful for worlds with significant floating islands or large overhangs above sea level, potentially improving how LODs are generated for such structures. - My Approach: I keep this commented out (
false) for my standard Overworld and Nether as it’s not typically needed. Enable it if you have unique world generation where this might be beneficial.
- Default:
border_center_x,border_center_z,border_radius- Default: Not set (usually commented out)
- What it does: These settings allow you to define a circular area within which LODs will be generated.
border_center_xandborder_center_zdefine the center coordinates, andborder_radiusdefines the radius in blocks. - My Approach: I don’t typically use this, but it can be very useful if you have a world border and only want to generate LODs within that specific gameplay area, saving resources.
perform_underglow_hack(Primarily for Nether)- Default:
false(usually commented out) - What it does: This is a specific hack intended to improve the appearance of lighting on the underside of terrain, particularly the Nether ceiling. The plugin’s comments often note “with caveats,” suggesting it might have unintended side effects or not work perfectly in all situations.
- My Approach: I leave this commented out (
false). If you experience issues with Nether ceiling lighting in LODs, you could experiment with enabling this, but test thoroughly.
- Default:
Remember, any setting not explicitly overridden in a world’s section will inherit from the global settings defined at the top of your config.yml.
Other Notable Settings
include_beacons- Default:
false - My Approach: I have this set to
true(by uncommenting#include_beacons: true) because I want beacon beams to be visible in the distant LODs. - What it does: If set to
true, beacon beams will be included in the LOD data. The plugin authors generally suggest generating initial LODs with thisfalseand enabling it later if desired, as it can add to processing.
- Default:
level_key_prefix- Default: Not set (empty)
- What it does: Used when running DHS on a proxied server (e.g., BungeeCord/Velocity). Set this to a unique value for each backend server to prevent conflicts.
Remember to restart your Minecraft server after making any changes to the plugins/DHSupport/config.yml file for them to take effect. The comments within your specific config.yml are an excellent resource and may contain the most up-to-date information for your plugin version.
With the Distant Horizons server plugin installed and configured, your Minecraft server is now equipped to offer a truly immersive visual experience with enhanced Level of Detail (LOD) rendering for your players. Keep an eye on the official Distant Horizons Server Plugin GitLab page for updates and new features.
Enjoy the stunning, far-reaching views on your server!
Happy adventuring!